Light Bar Mounts - FJ80 FZJ80 Toyota Land Cruiser Lexus LX450
Light Bar Mounts - FJ80 FZJ80 Toyota Land Cruiser Lexus LX450
Couldn't load pickup availability
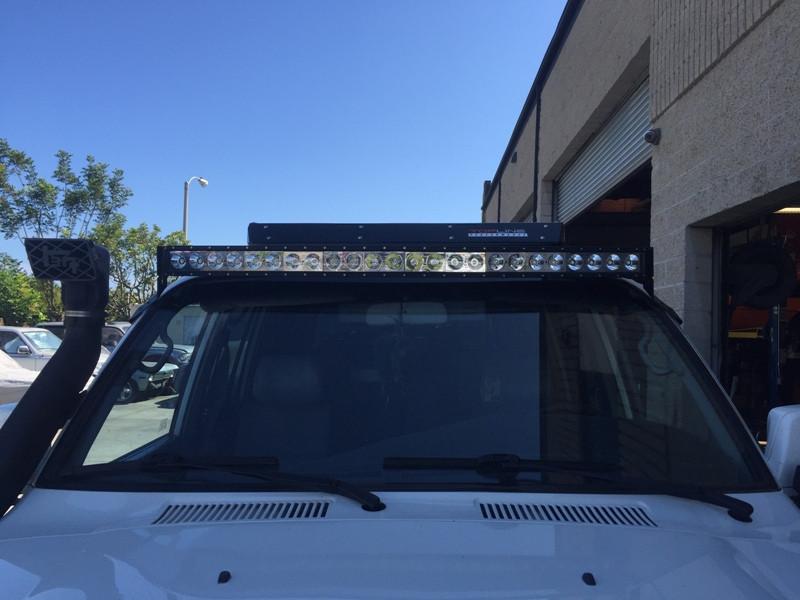
50" Curved Light Bar Mounts
FITS 1991-1997 Toyota FJ80 FzJ 80 Land Cruiser and 1996-1997 Lexus LX450
- Sold as a pair
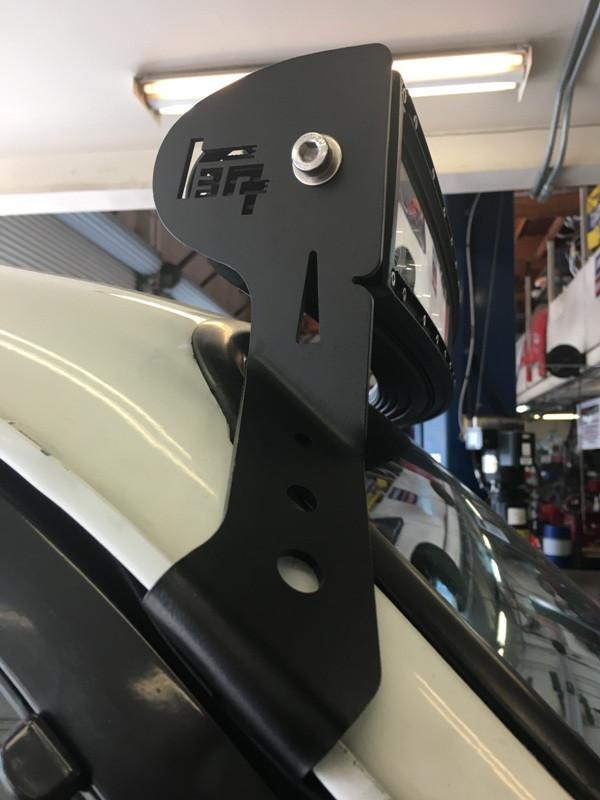
- CAD drawn & CNC laser cut out of 11 gauge steel
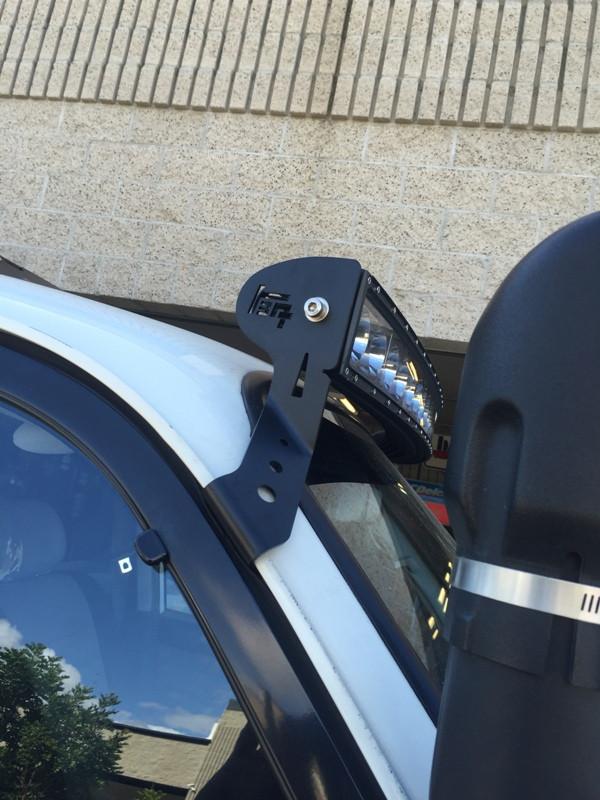
- Precision formed to mount discretely into door sills
- Includes mounting hardware
- Powder Coated Black
- These mounts are designed to work with a 50" curved light bar
- Made in the USA
- Lights sold separately
Please check with local & state DOT laws regarding use of light bars and this product
Toyota Land Cruiser 80 Series FJ80 FZJ80 named Burbuja (Bubble) in Colombia and Venezuela. VX Model Autana. 3FE 3F-E 1HZ 1HD-T 1FZ-FE
LIGHT BAR MOUNTS (2 person install)
FJ80 FZJ80 TOYOTA LAND CRUISER - LEXUS LX450
1. Before installing the light bar and brackets, disconnect the positive battery connection.
2. Put masking tape on the painted surface where the brackets will mount so you do not scratch the
paint while marking hole locations.
3. Install the driver and passenger brackets on the 50″ curved LED light bar using the mounting hardware
that was supplied with the light. Hand tighten.
4. Place the brackets on door jam and make sure the light bar is where you want it to be. Mark the two
holes with a marker, or a center punch, on both sides.
5. Remove the brackets from the truck and drill pilot holes with a 1/8” (.125) drill bit. Then drill those
holes out to 3/16″ (.187″ dia.)
6. Remove the masking tape from both sides of truck. You can paint the exposed metal where you
drilled the 4 holes
7. Hold the Led light bar, with the brackets attached, up to the door jam and align the two holes on each
side. Secure with the supplied 3/16” rivets using a rivet gun (you can use silicone to help seal the holes
you drilled.
8. Finally, tighten each side of the LED light bar to the bracket so the light is positioned as desired in the
bracket
9. Complete wiring of light bar, and connect positive lead back to the battery post.
Share


